When we first moved to Chamonix, I wasn’t quite prepared for how easy it would be to live without a car. Coming from the UK, I was used to driving everywhere, and I assumed the same would apply here. But the truth is, between the local buses, the train, and a bit of trial and error, getting around the Chamonix valley without a car is completely doable. That said, we do have a car, a Dacia Duster, which is something of a local favourite , and I am genuinely thrilled with it. We don’t use it much in town, but it’s ideal for getting to Sallanches, where I go to the gym, swim, and do a proper food shop.
Whether you’re flying in for a trail race, planning a family ski trip, or thinking about relocating, this guide covers how to get to Chamonix and how to move around once you arrive, all using public transport.
Geneva Arrivals: Your Ticket to the Mountains
Geneva is the closest major airport to Chamonix, and getting from the terminal to the mountains is fairly straightforward. Several coach companies run regular transfers to the valley, and you can usually catch a bus every 30 minutes to an hour, depending on how wedded you are to a particular provider. FlixBus, EasyBus, AlpyBus and SwissTours all offer direct routes, with journey times ranging from just over an hour to around 1 hour 40. If you’re not too picky, you’ll usually find something that suits. Just make sure to book ahead during busy periods as the cheaper seats tend to go quickly.
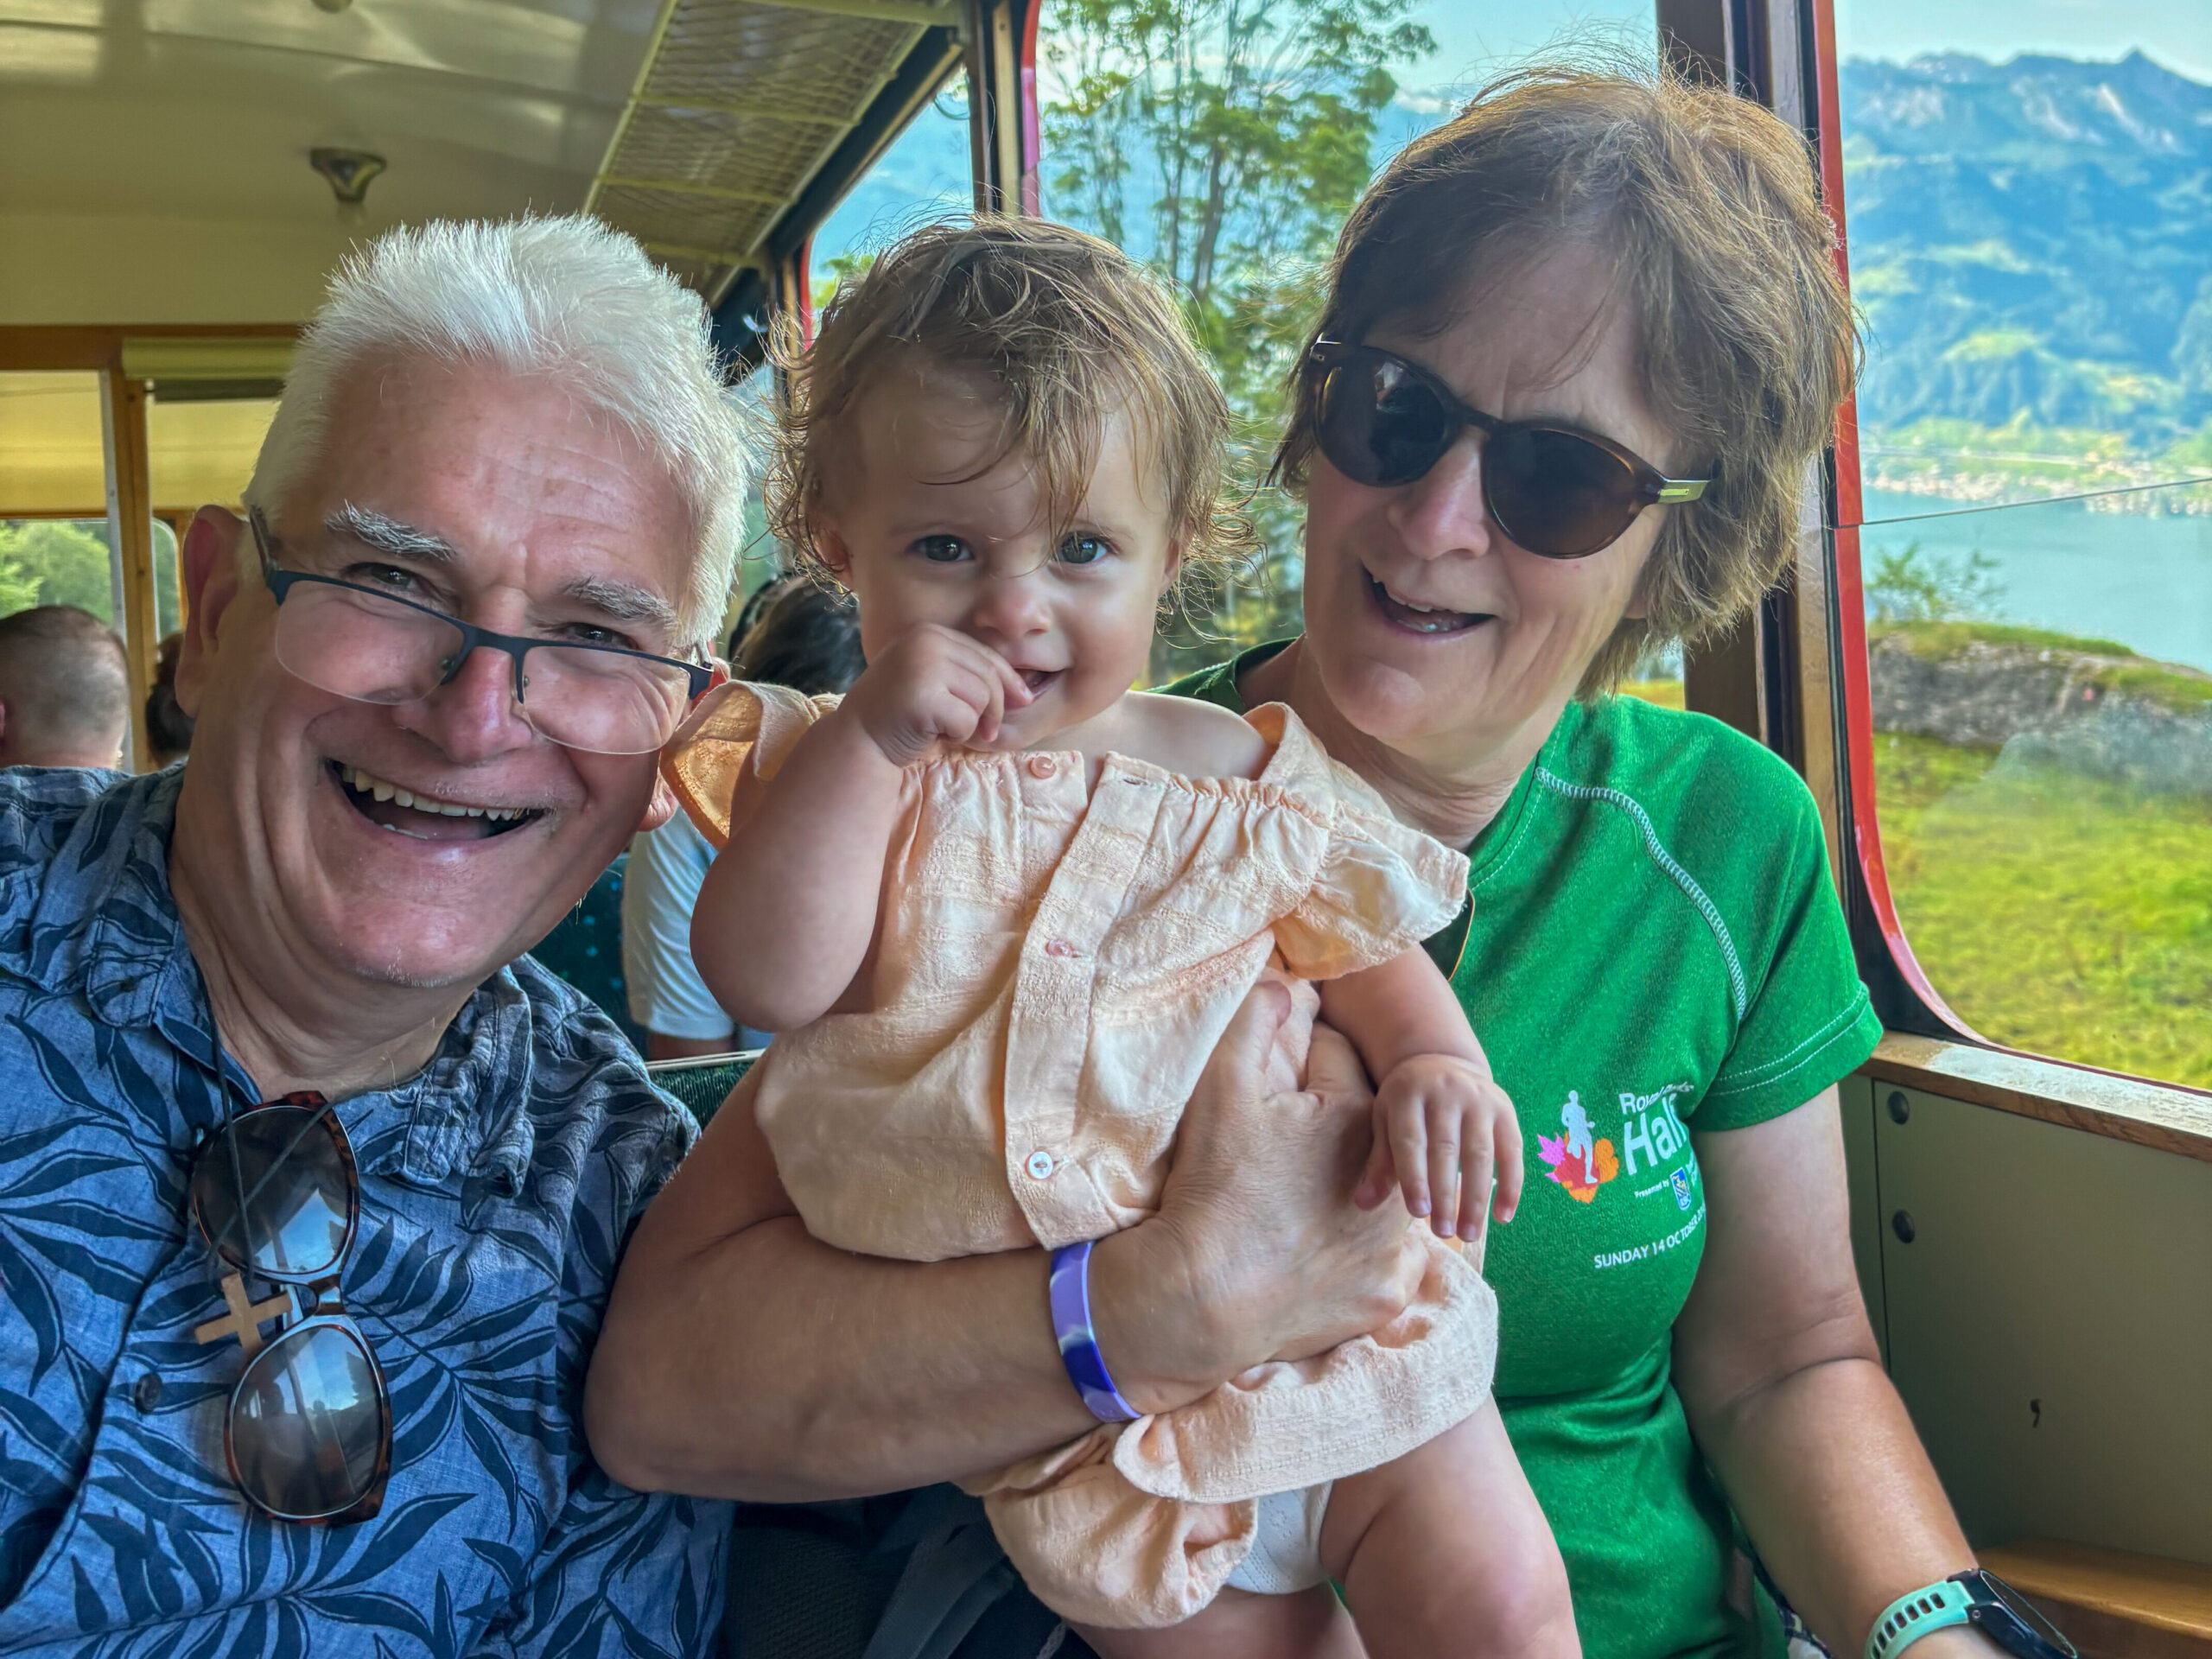
If you can, go for a flexible ticket. My mother in law, who is the most organised traveller I know and, to her detriment, more organised than easyJet, had a flight delay recently. She didn’t meet her sensibly scheduled bus and ended up spending two hours at the airport, glaring at the departure board and muttering things I won’t repeat here. The moral of the story? A flexible booking can save you a lot of stress, especially if your flight’s cutting it fine.
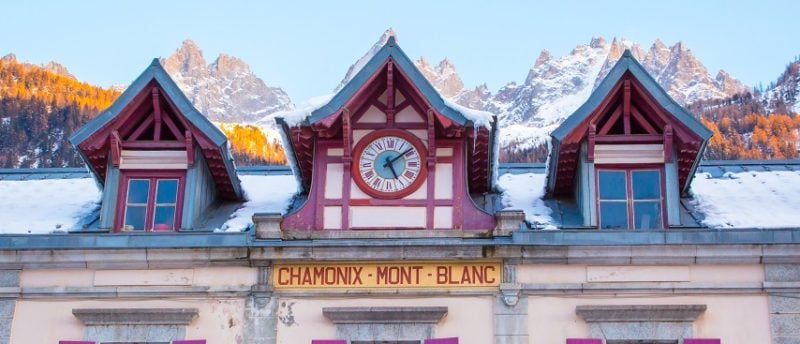
Chugging Through Chamonix: The Train Lowdown
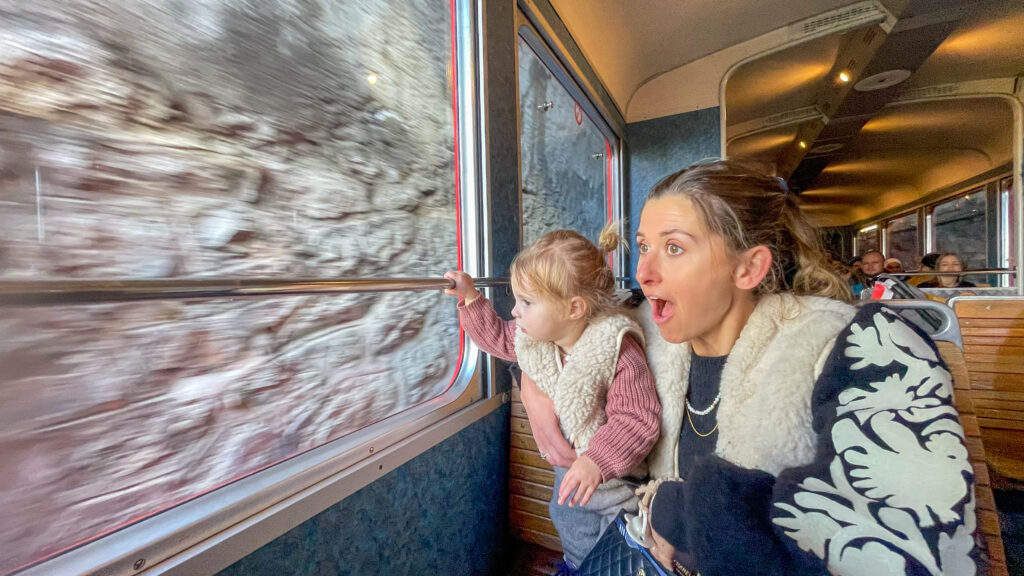
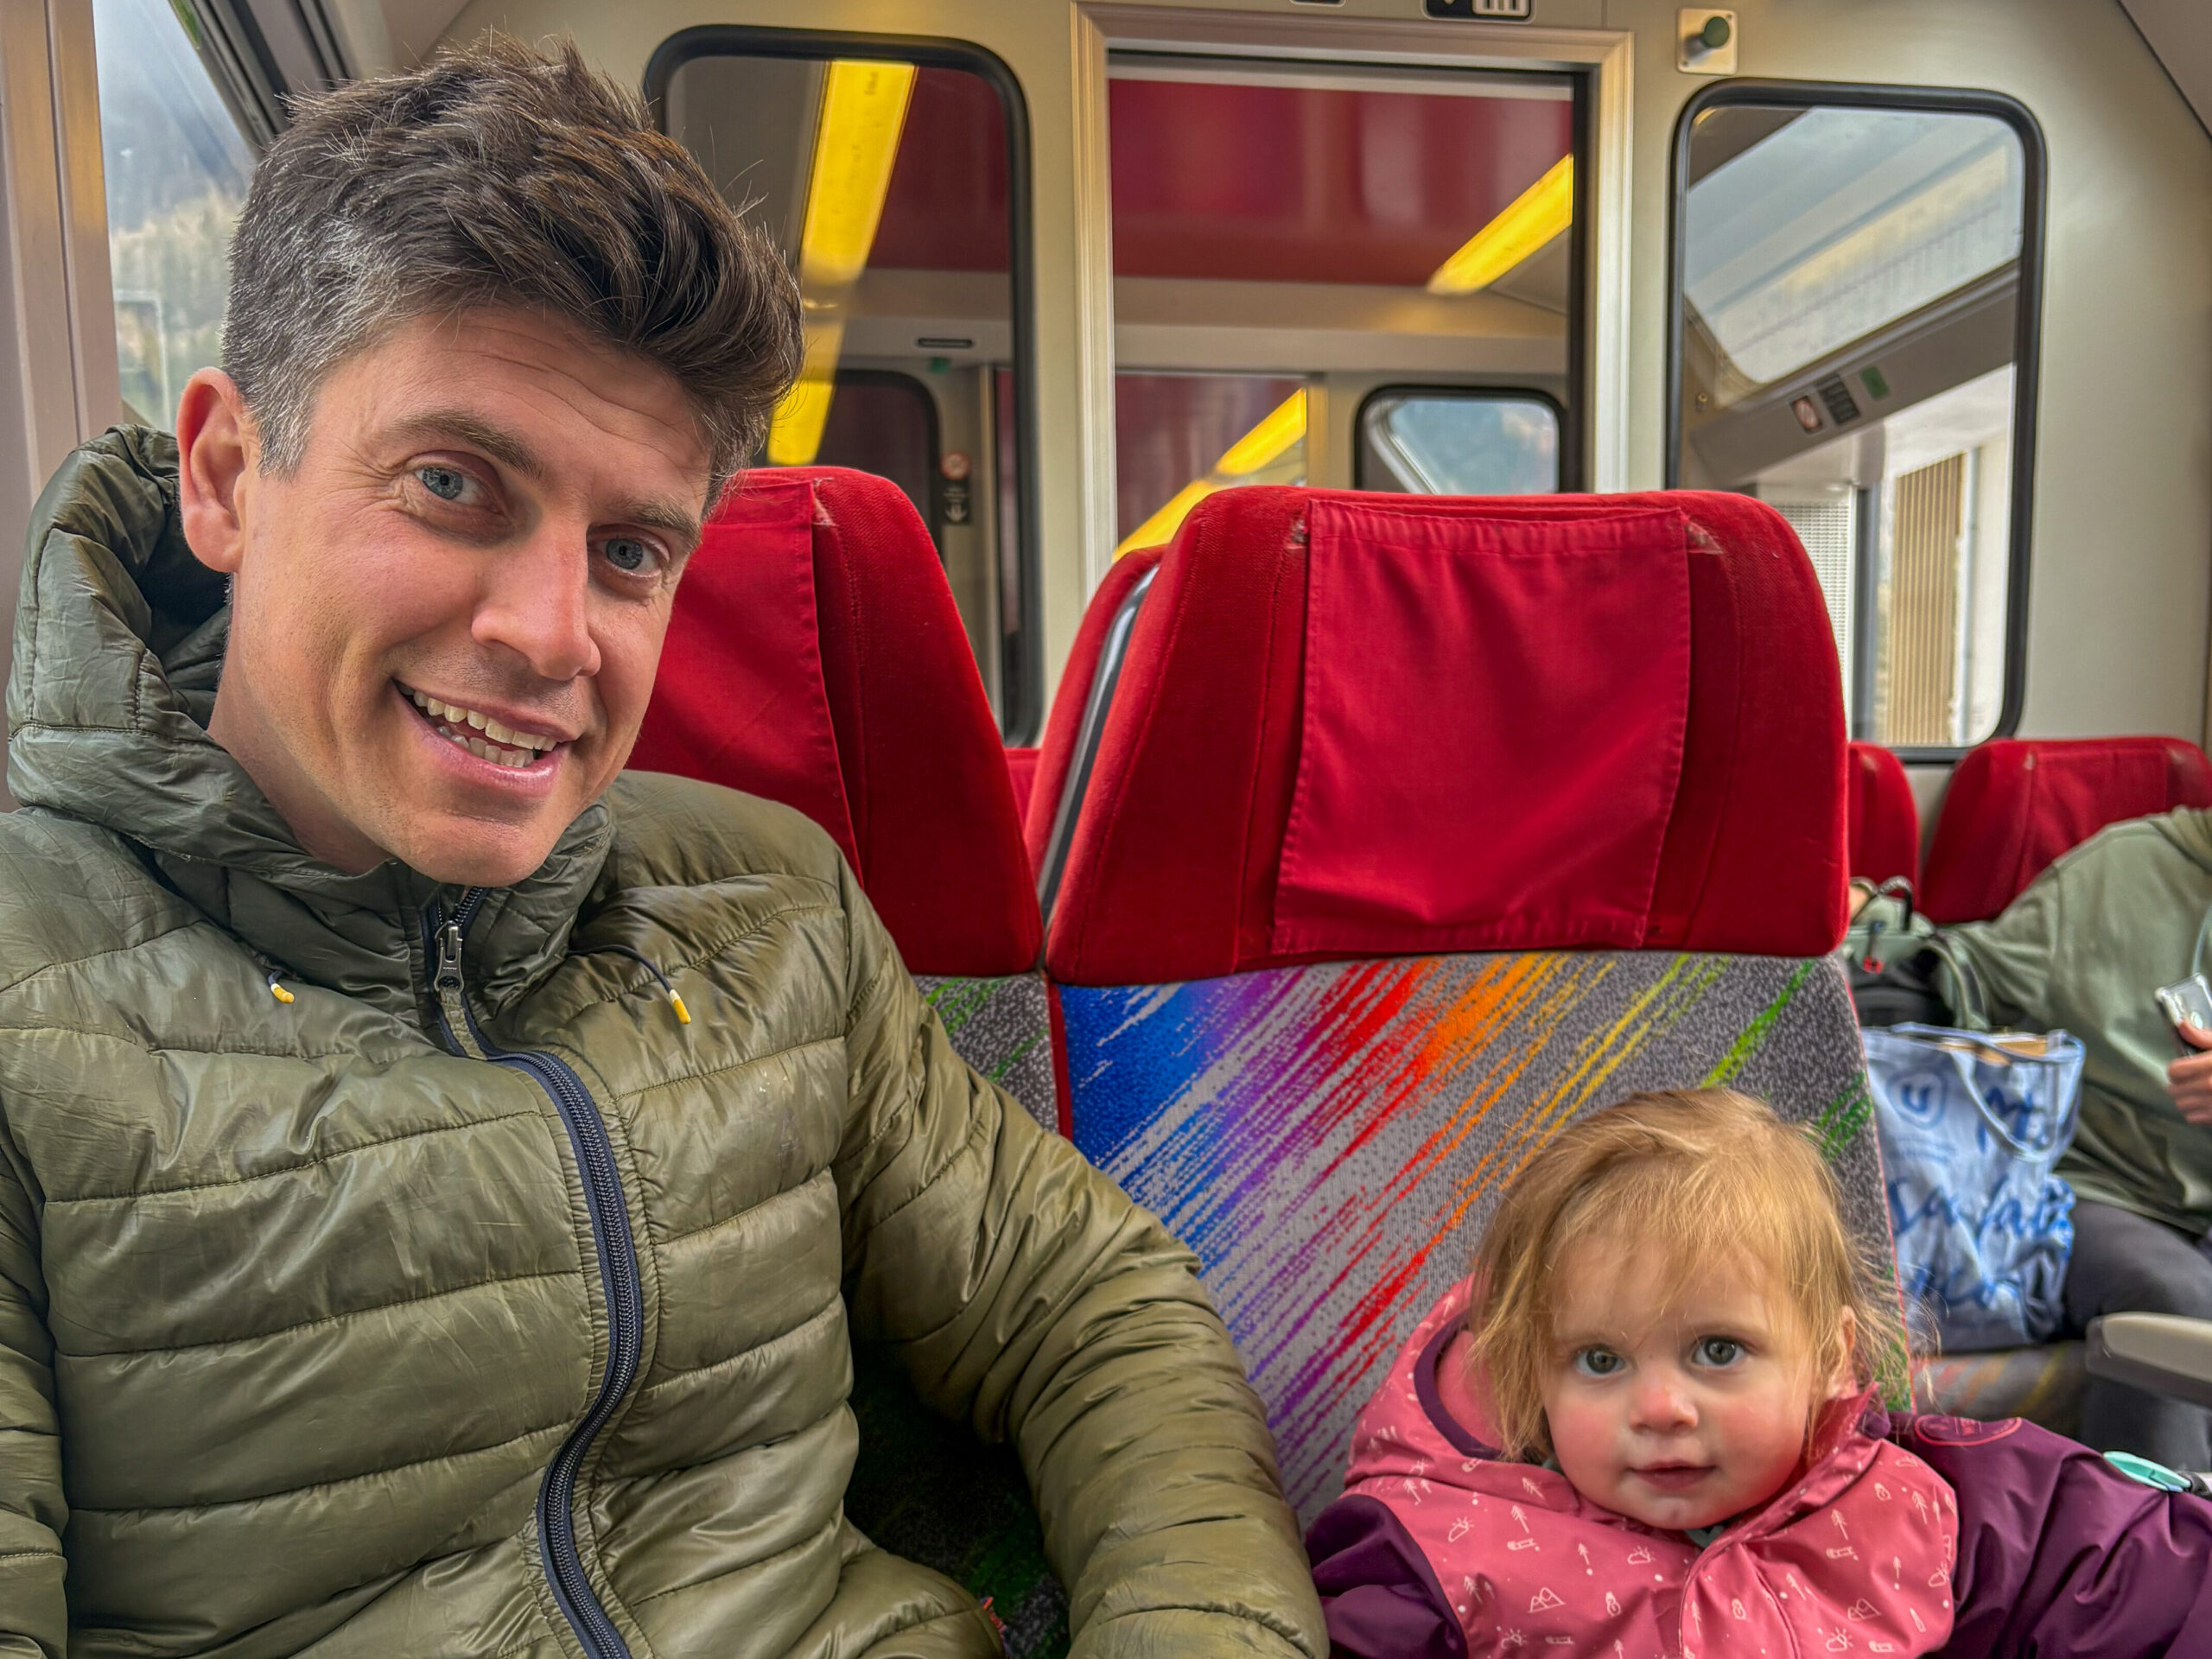
This is the valley’s main train line, running between Saint-Gervais-les-Bains and Martigny in Switzerland, with local stops in Chamonix, Argentière and Vallorcine. I’ve only used it between Pèlerins and Argentière, which covers most of the valley. It’s a solid option if you’re avoiding busy buses or want to hop between villages without driving.
The train can be a bit of a waiting game at times. It stops in both Vallorcine and Chamonix Centre for around 16 minutes, so if you’re planning to travel straight through either station, be prepared to sit tight for a while.
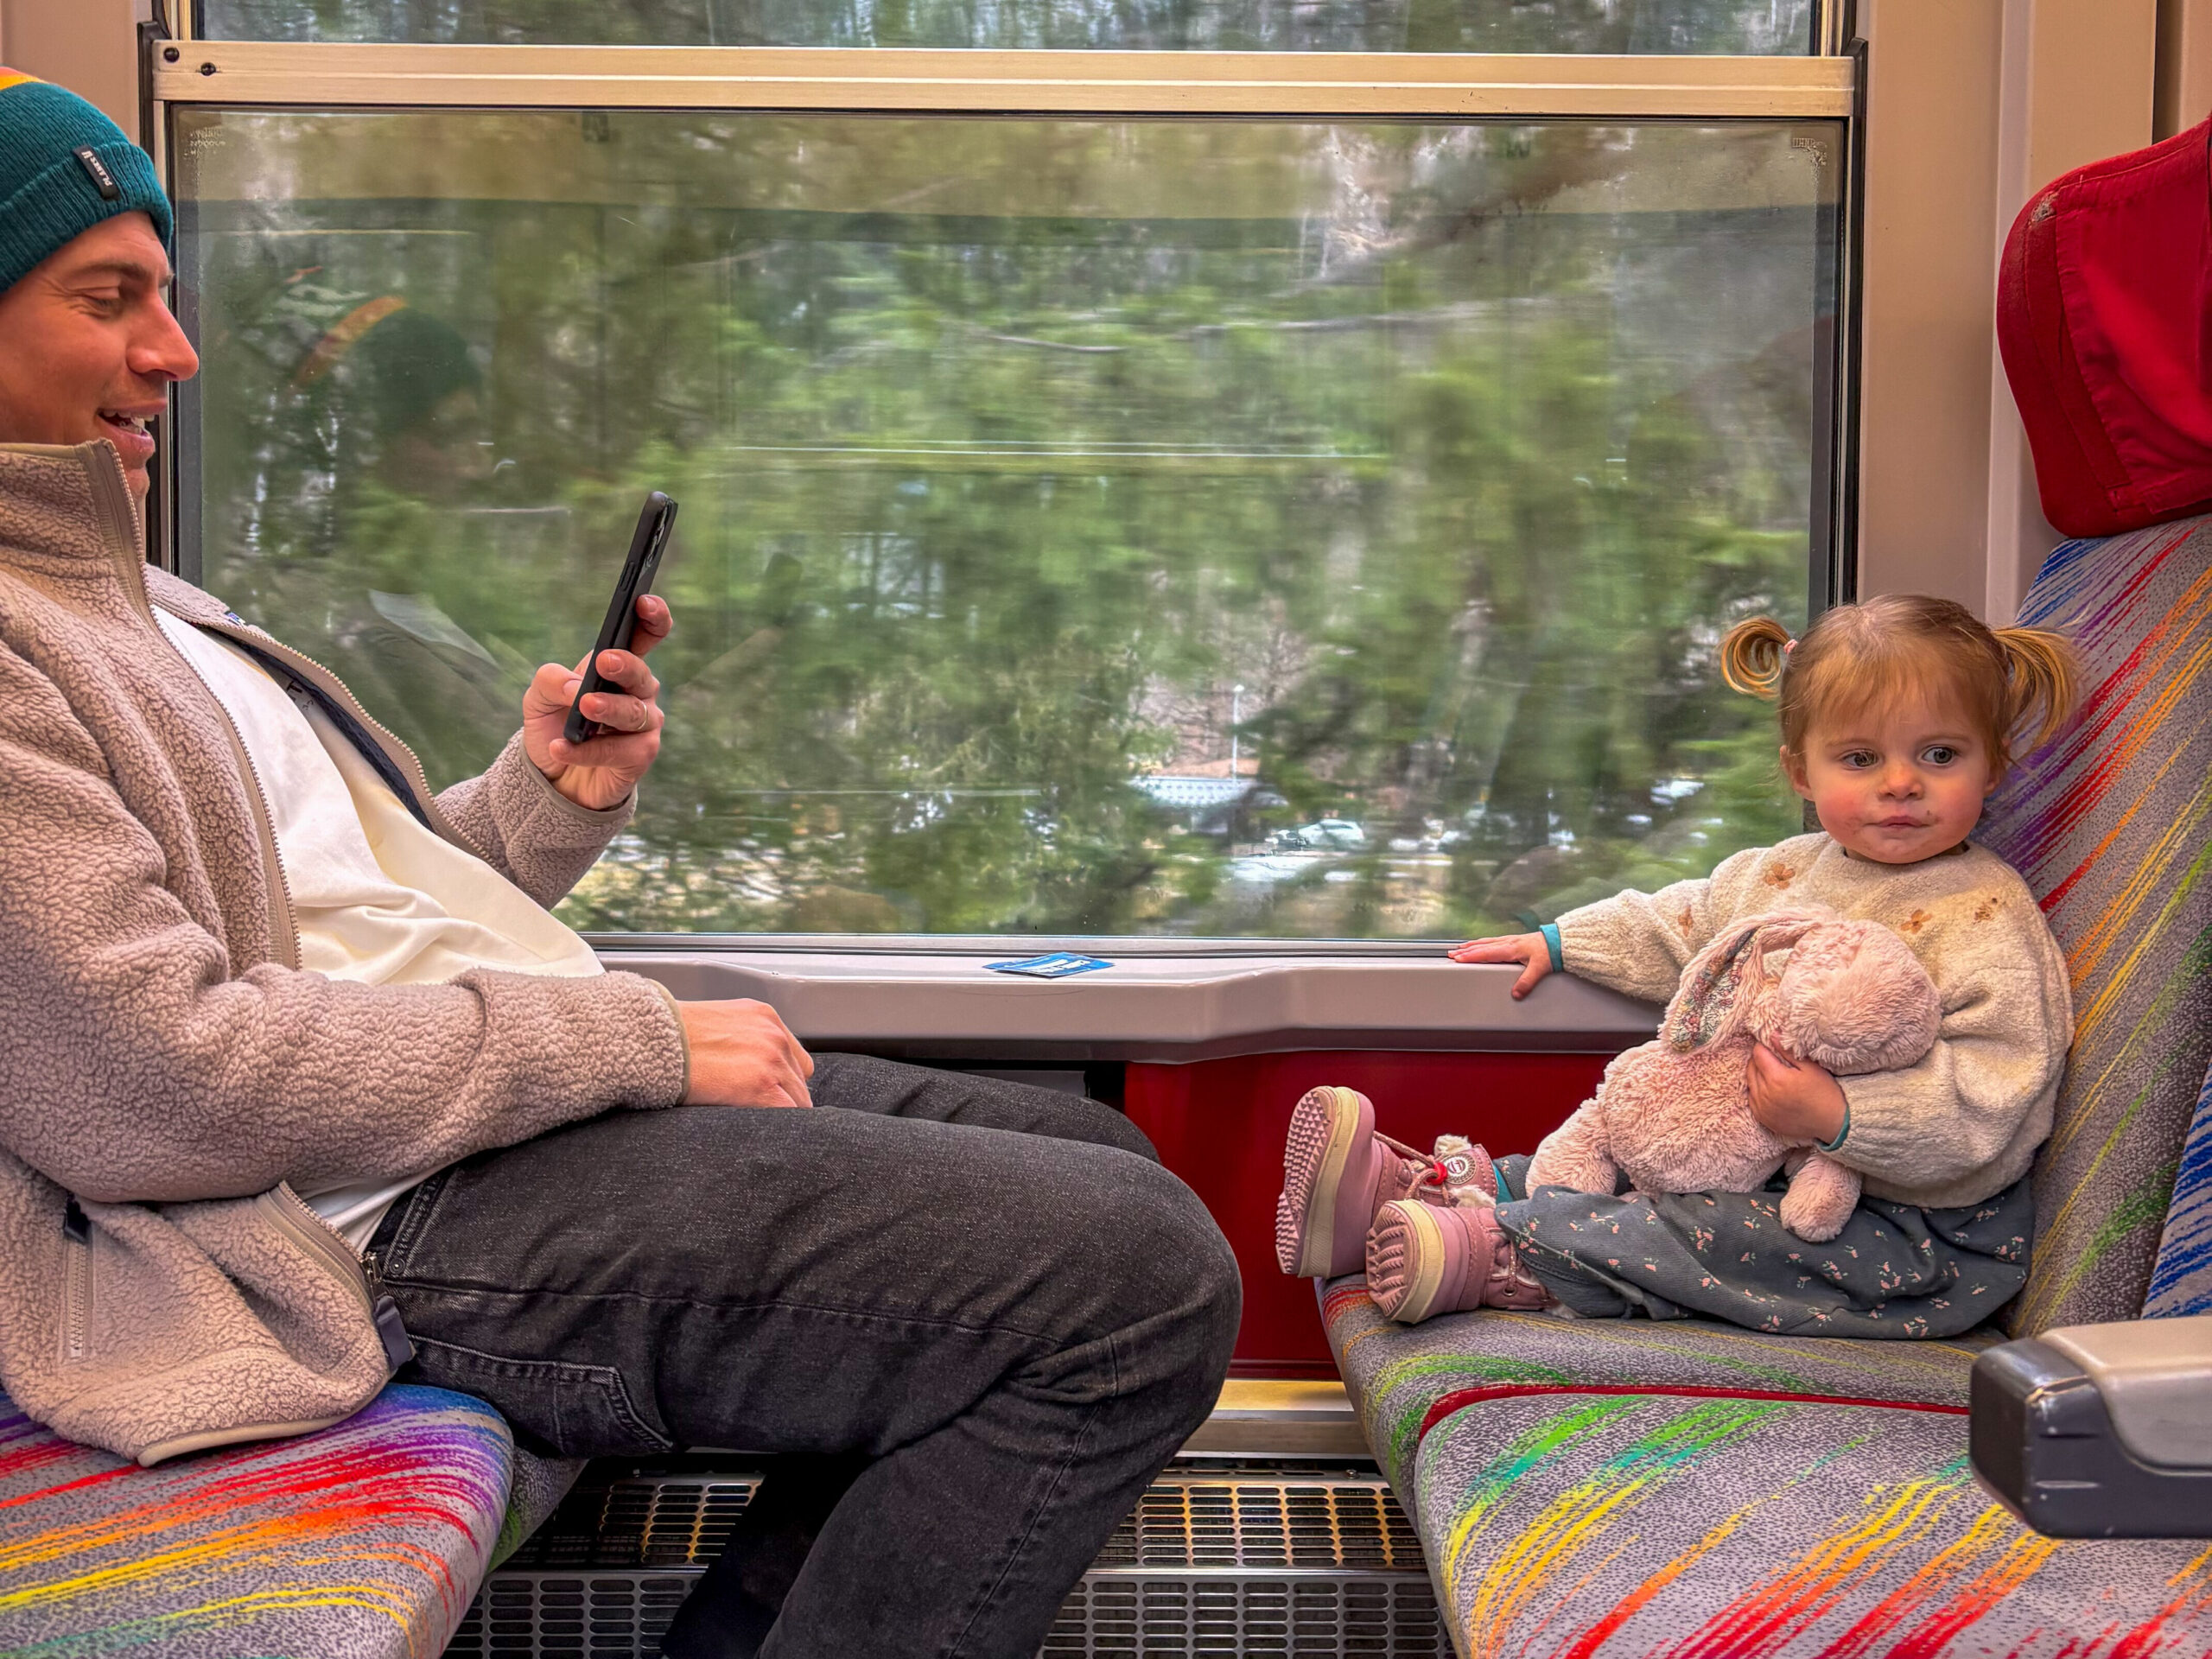
If you’ve got a buggy with you, be warned. Some trains are level with the platform and easy to board, while others have a couple of awkward steps. And unlike in the UK, don’t expect anyone to rush over and help. The staff are, well… French. Friendly enough, but not exactly leaping into action when they see a pram.
Still, once you’re on, it’s warm, usually on time, and free with a carte d’hôte, which you should get from your accommodation.
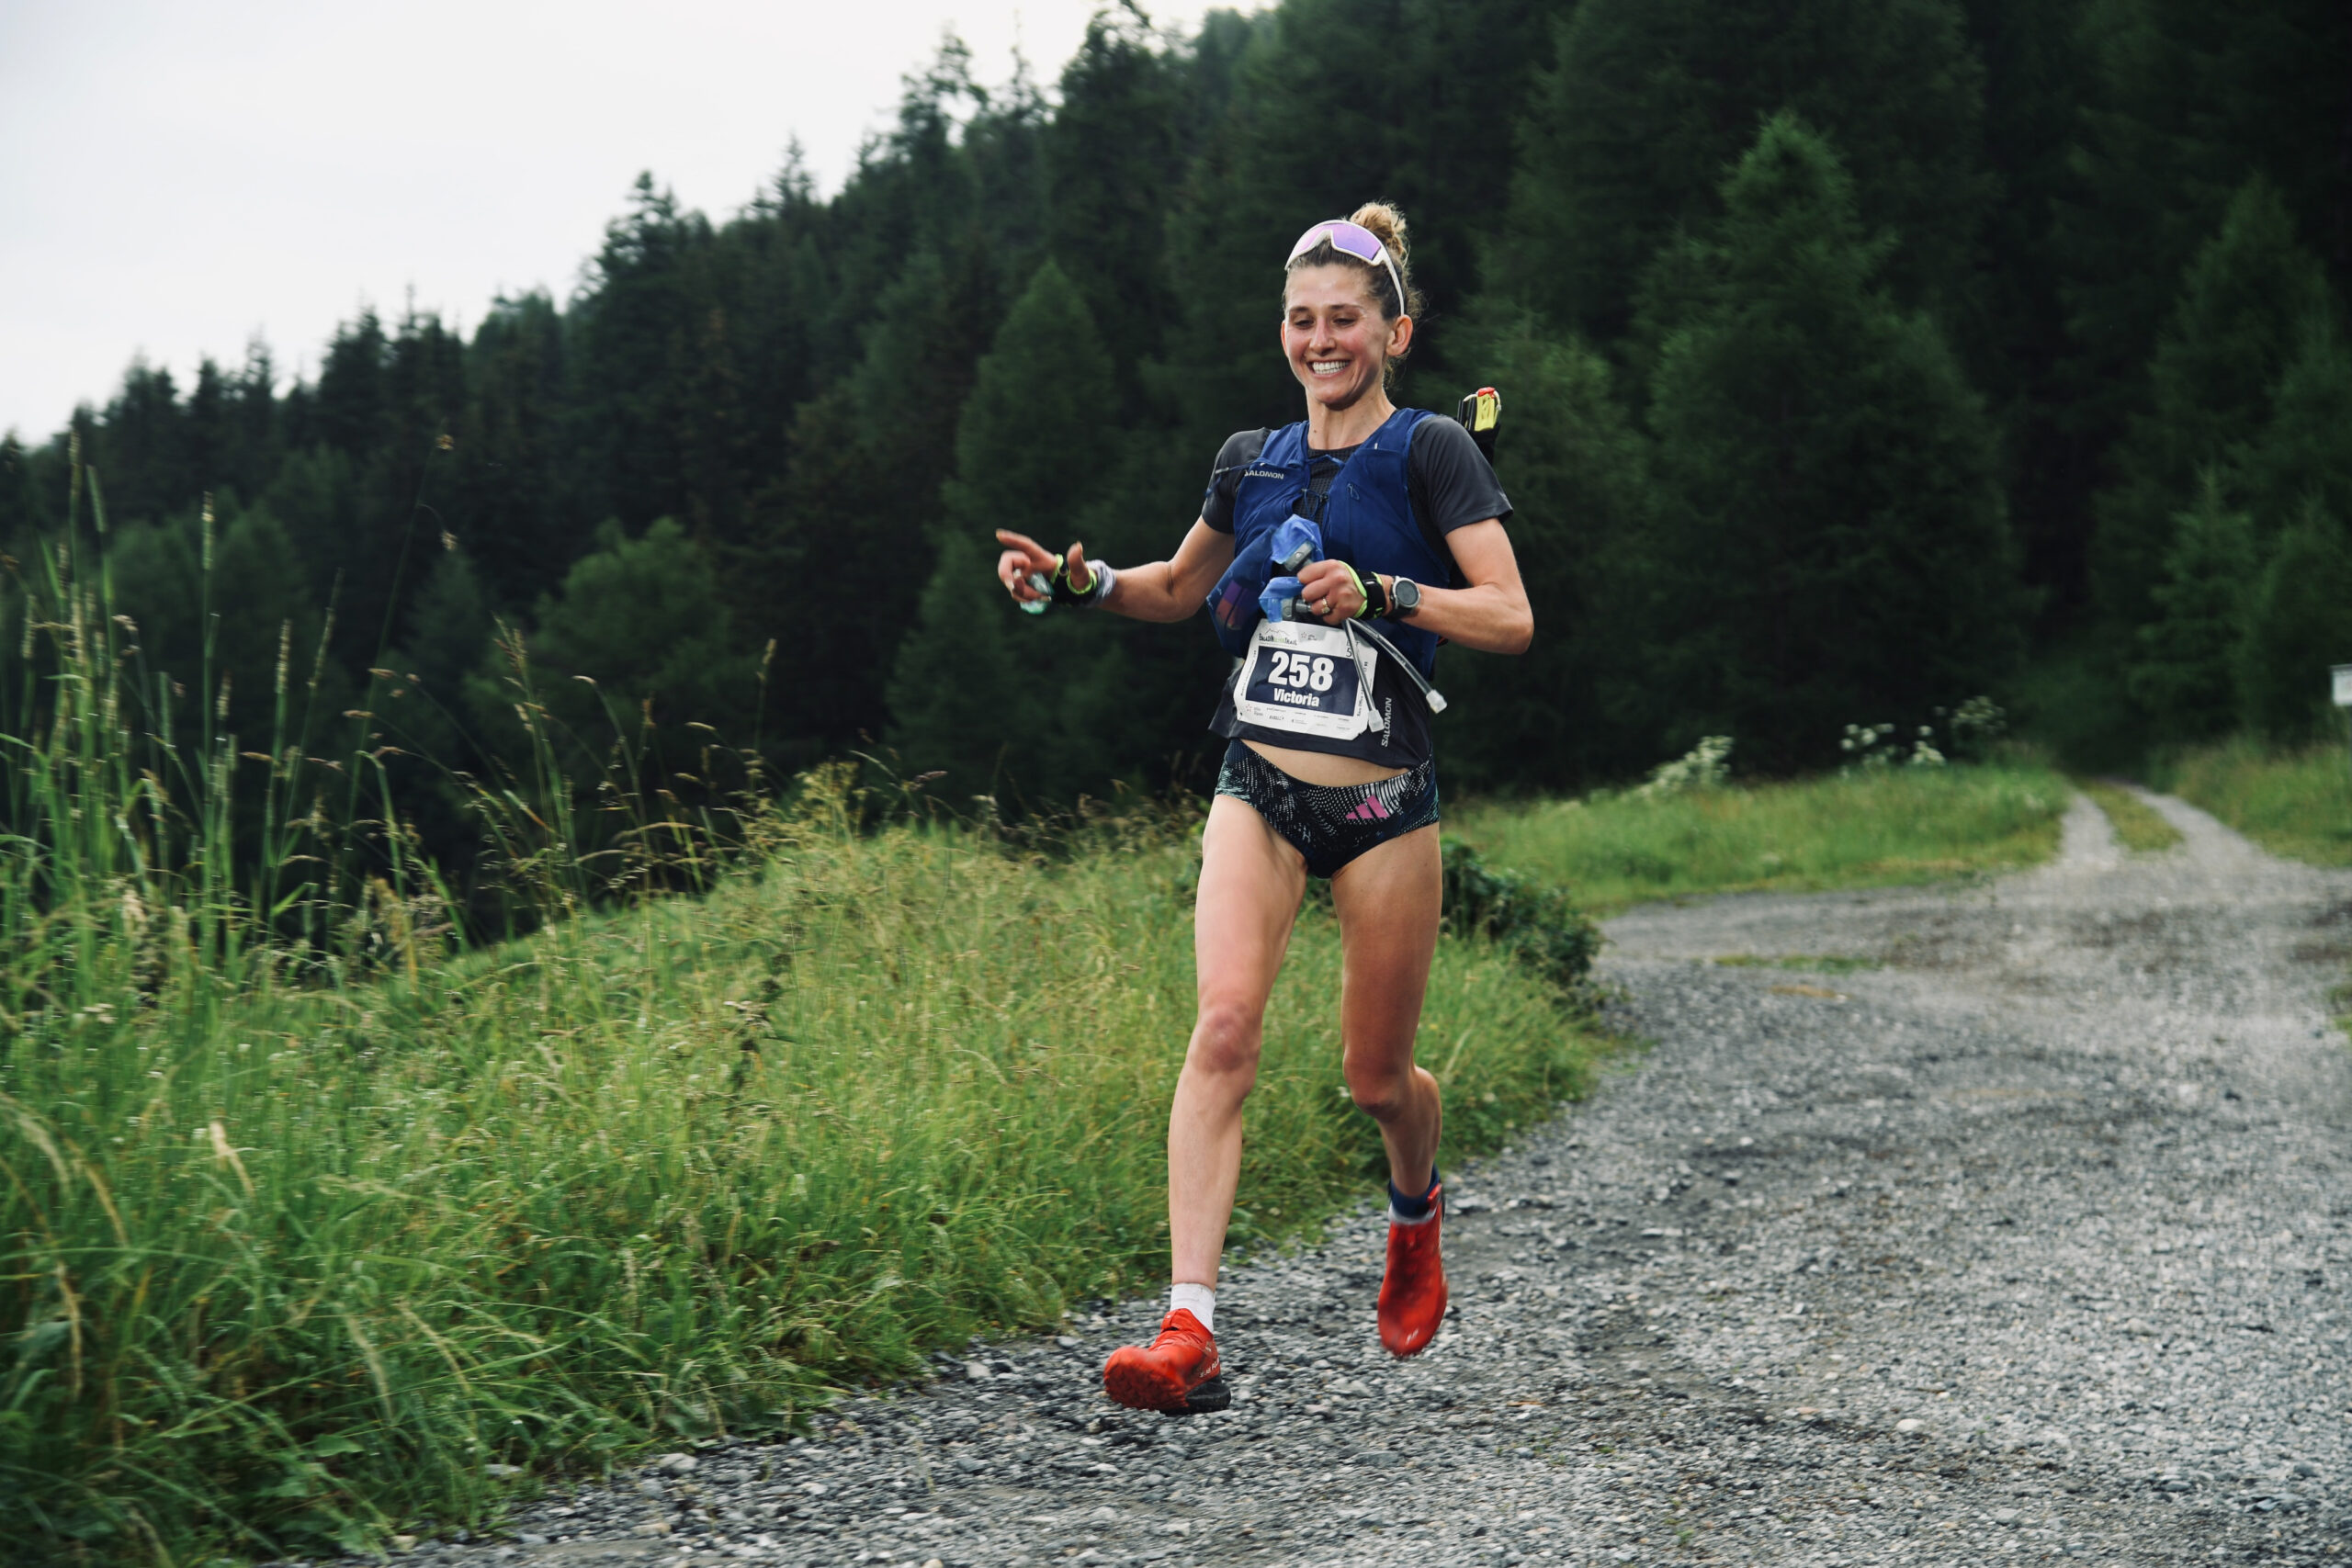
Victoria’s Top Tip:
At the moment, the section between Chamonix Centre and Saint-Gervais isn’t operating. There’s a bus replacement service instead. I haven’t tried the replacement myself yet, so I can’t vouch for how smooth it is. But if you’re travelling with kids or kit, it’s probably worth factoring in a bit of extra time.
It Might Come, It Might Not: Buses in Chamonix
If you’re staying in Chamonix without a car, the buses are a really helpful way to get around. The main route is Line 1, which connects Servoz to Le Tour and passes through all the major spots like Chamonix Centre, Les Praz, Argentière and Montroc.
I haven’t used the buses loads yet, but from what I’ve seen, they’re generally reliable. Just be aware that they’re not super frequent. Depending on the time of day or season, you might be looking at one every 30 minutes or so, and fewer outside of peak hours. It’s worth checking the timetable before heading out, especially if you’ve got kids or are aiming for something time-sensitive.
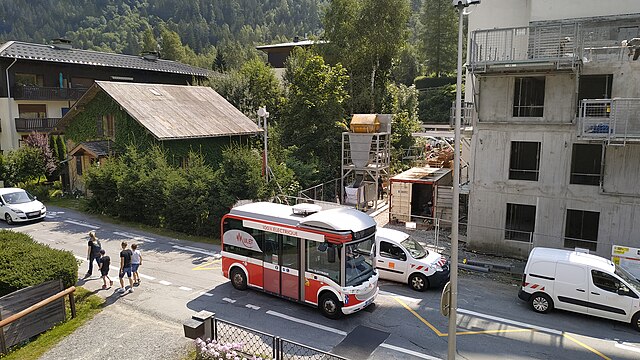
Now, my favourite (still unused) bus is Le Mulet. I just love it. The name, the shape, the whole vibe. It’s a tiny electric shuttle that loops around Chamonix town and it’s completely free. I can’t wait to take it purely for the novelty.
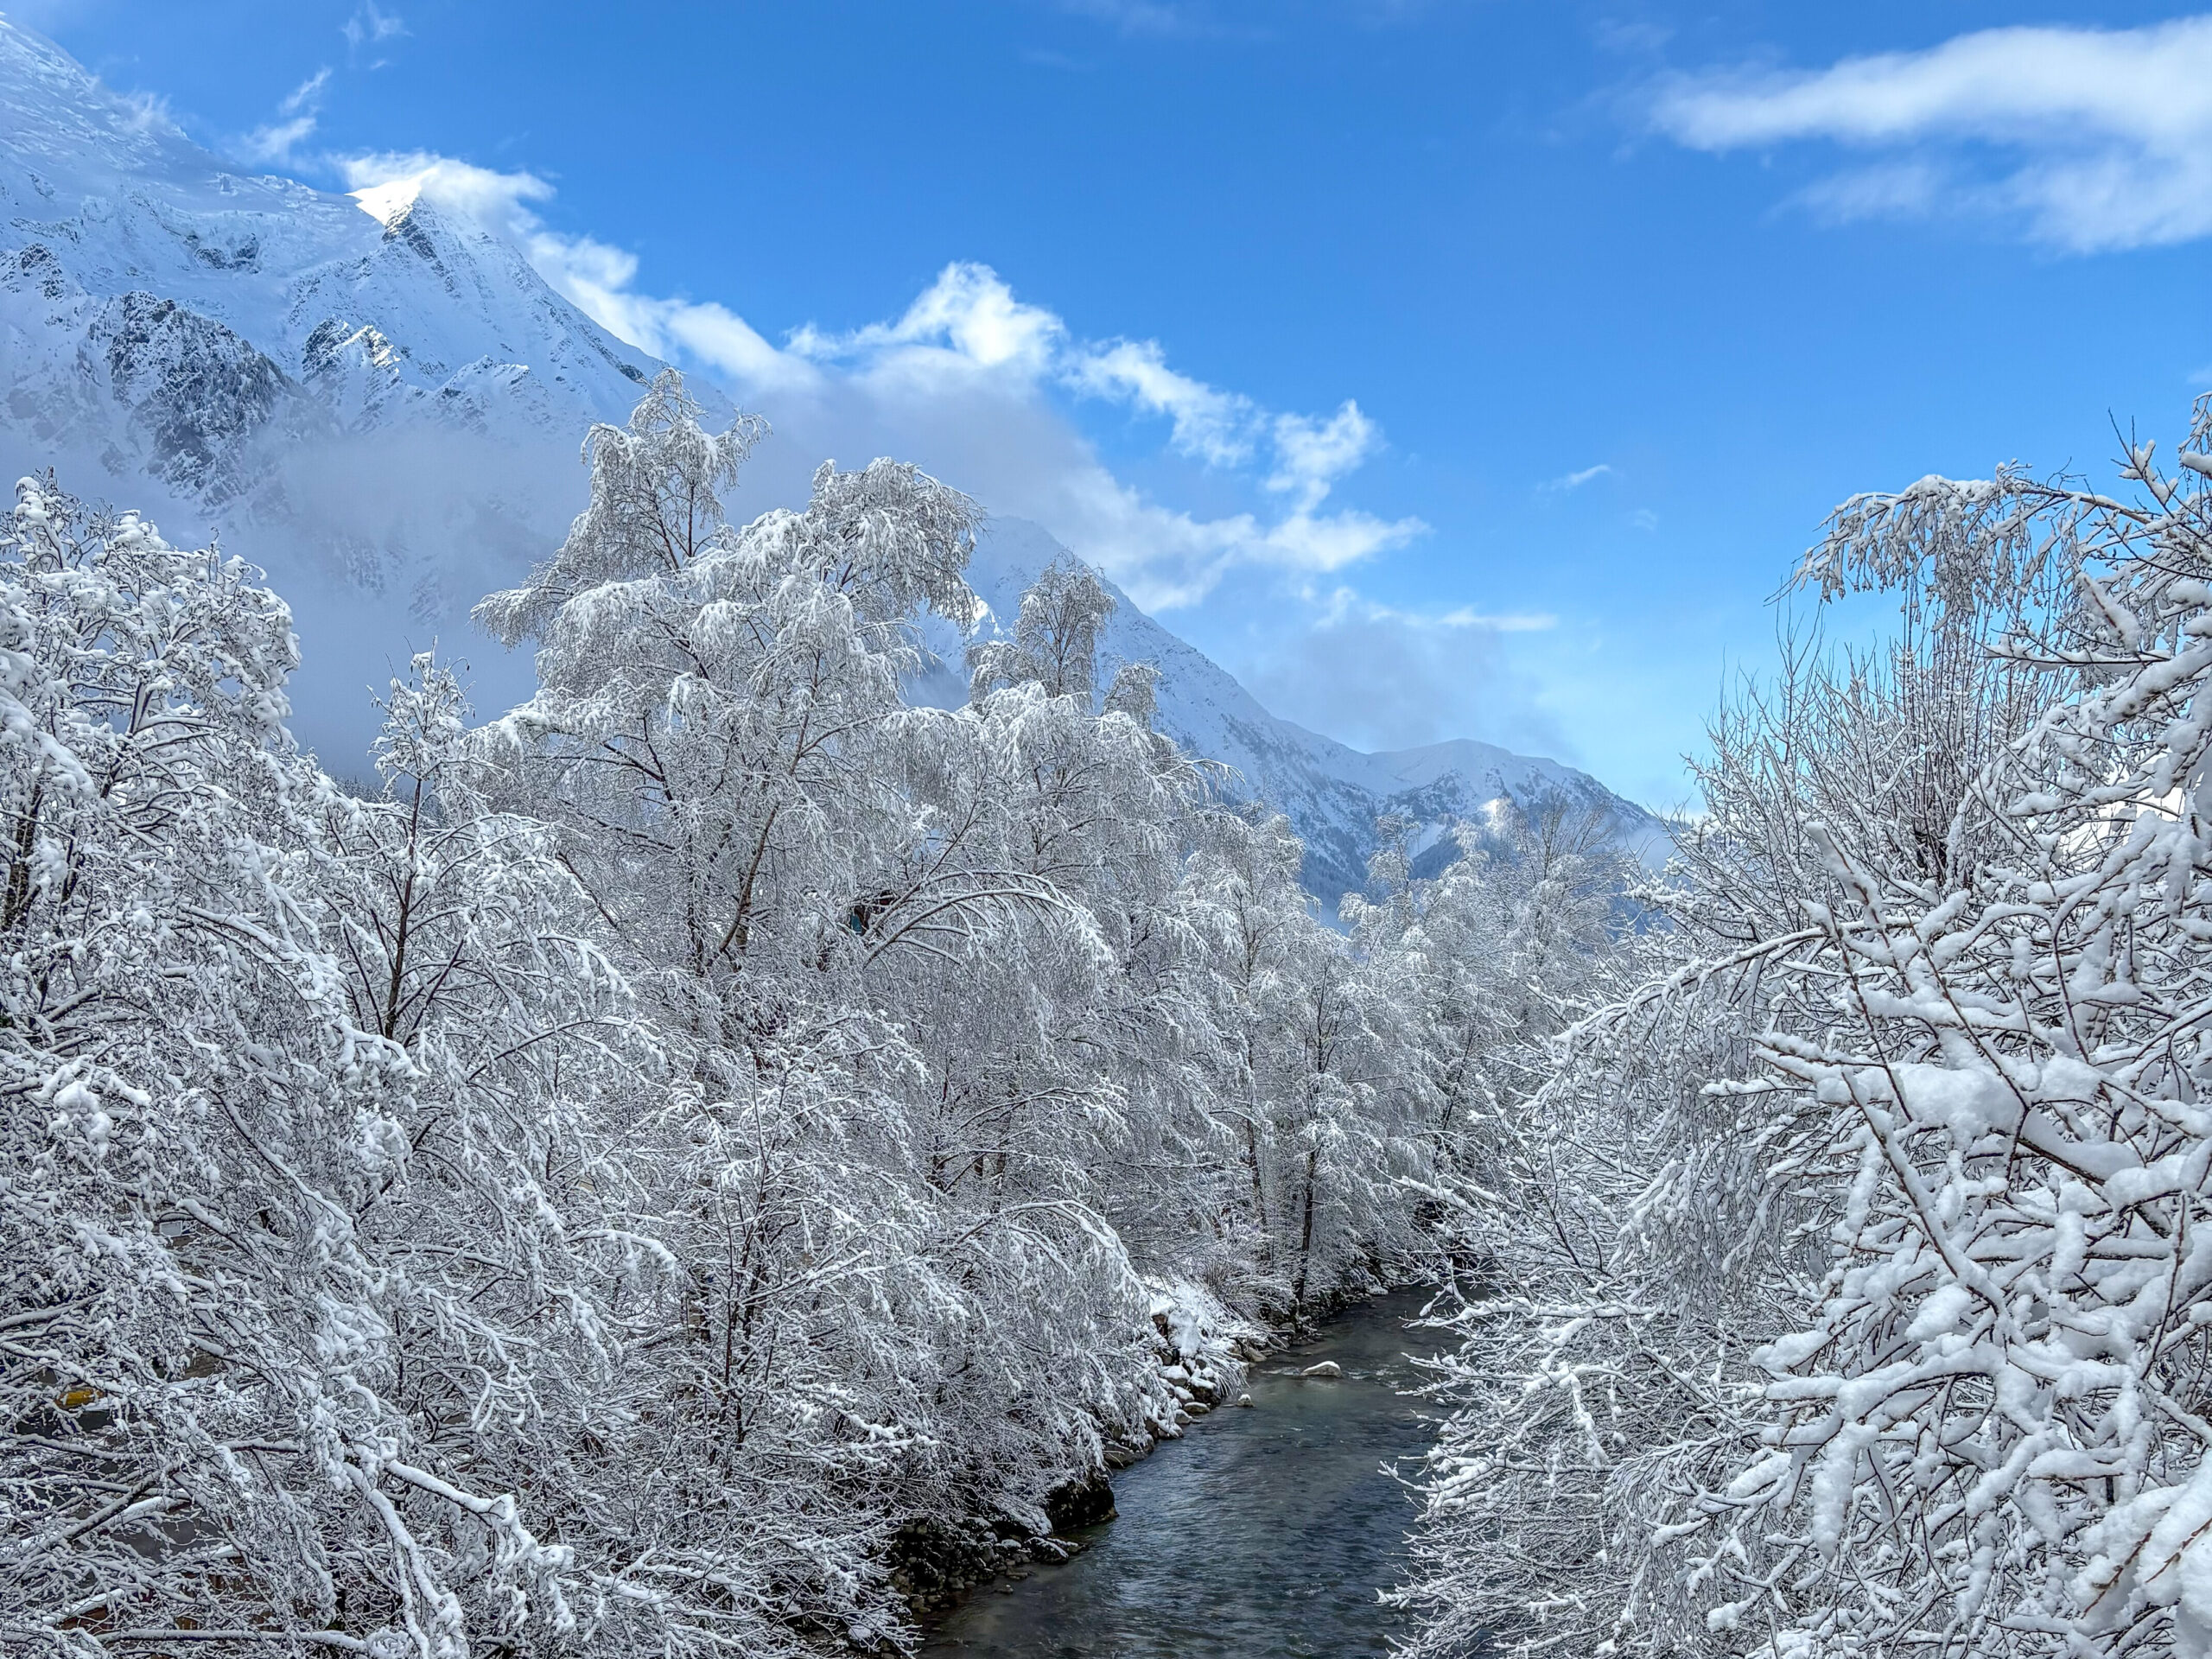
In winter, there are extra ski buses that link up the lifts and car parks. In summer, many of the main buses are bike-friendly, which is ideal if you’re heading out for a ride and don’t fancy cycling all the way home again.
The Fine Art of Getting a Ticket (Without Crying)
Now, about the carte d’hôte. This is where things get a bit less straightforward.
If you’re visiting Chamonix and staying in local accommodation, you should be given a carte d’hôte. In theory, it gives you free access to the valley’s trains and buses. In practice, it’s not quite that simple.
For the buses, you still need an actual ticket. It’s not enough to show your carte d’hôte to the driver. You’ll need a valid ticket or day pass to board, otherwise you’ll be asked to pay €2 or hop off.
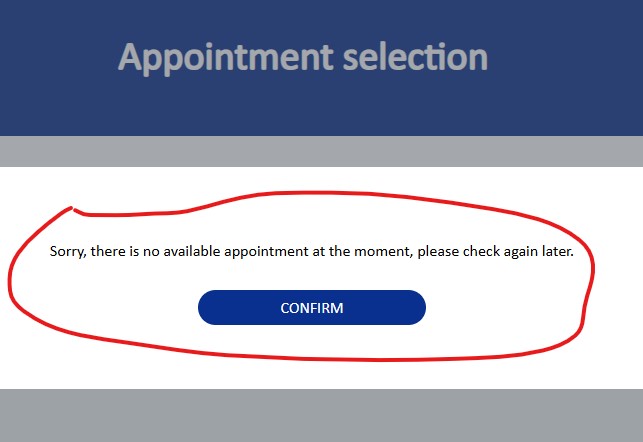
As for how to get that ticket, avoid the app or the online system unless you fancy a good dose of frustration. The easiest way is to go to the machines or speak to someone at the desks near Plan B Hotel in Chamonix Sud. There, you can buy a discounted day pass using your carte d’hôte, with a one-day minimum.
If you’re here longer-term, the resident’s card is much more straightforward. It gives you proper unlimited access to the local transport network, and you only need to renew it once a year.
Ditching the Faff: Enter the E-Bike
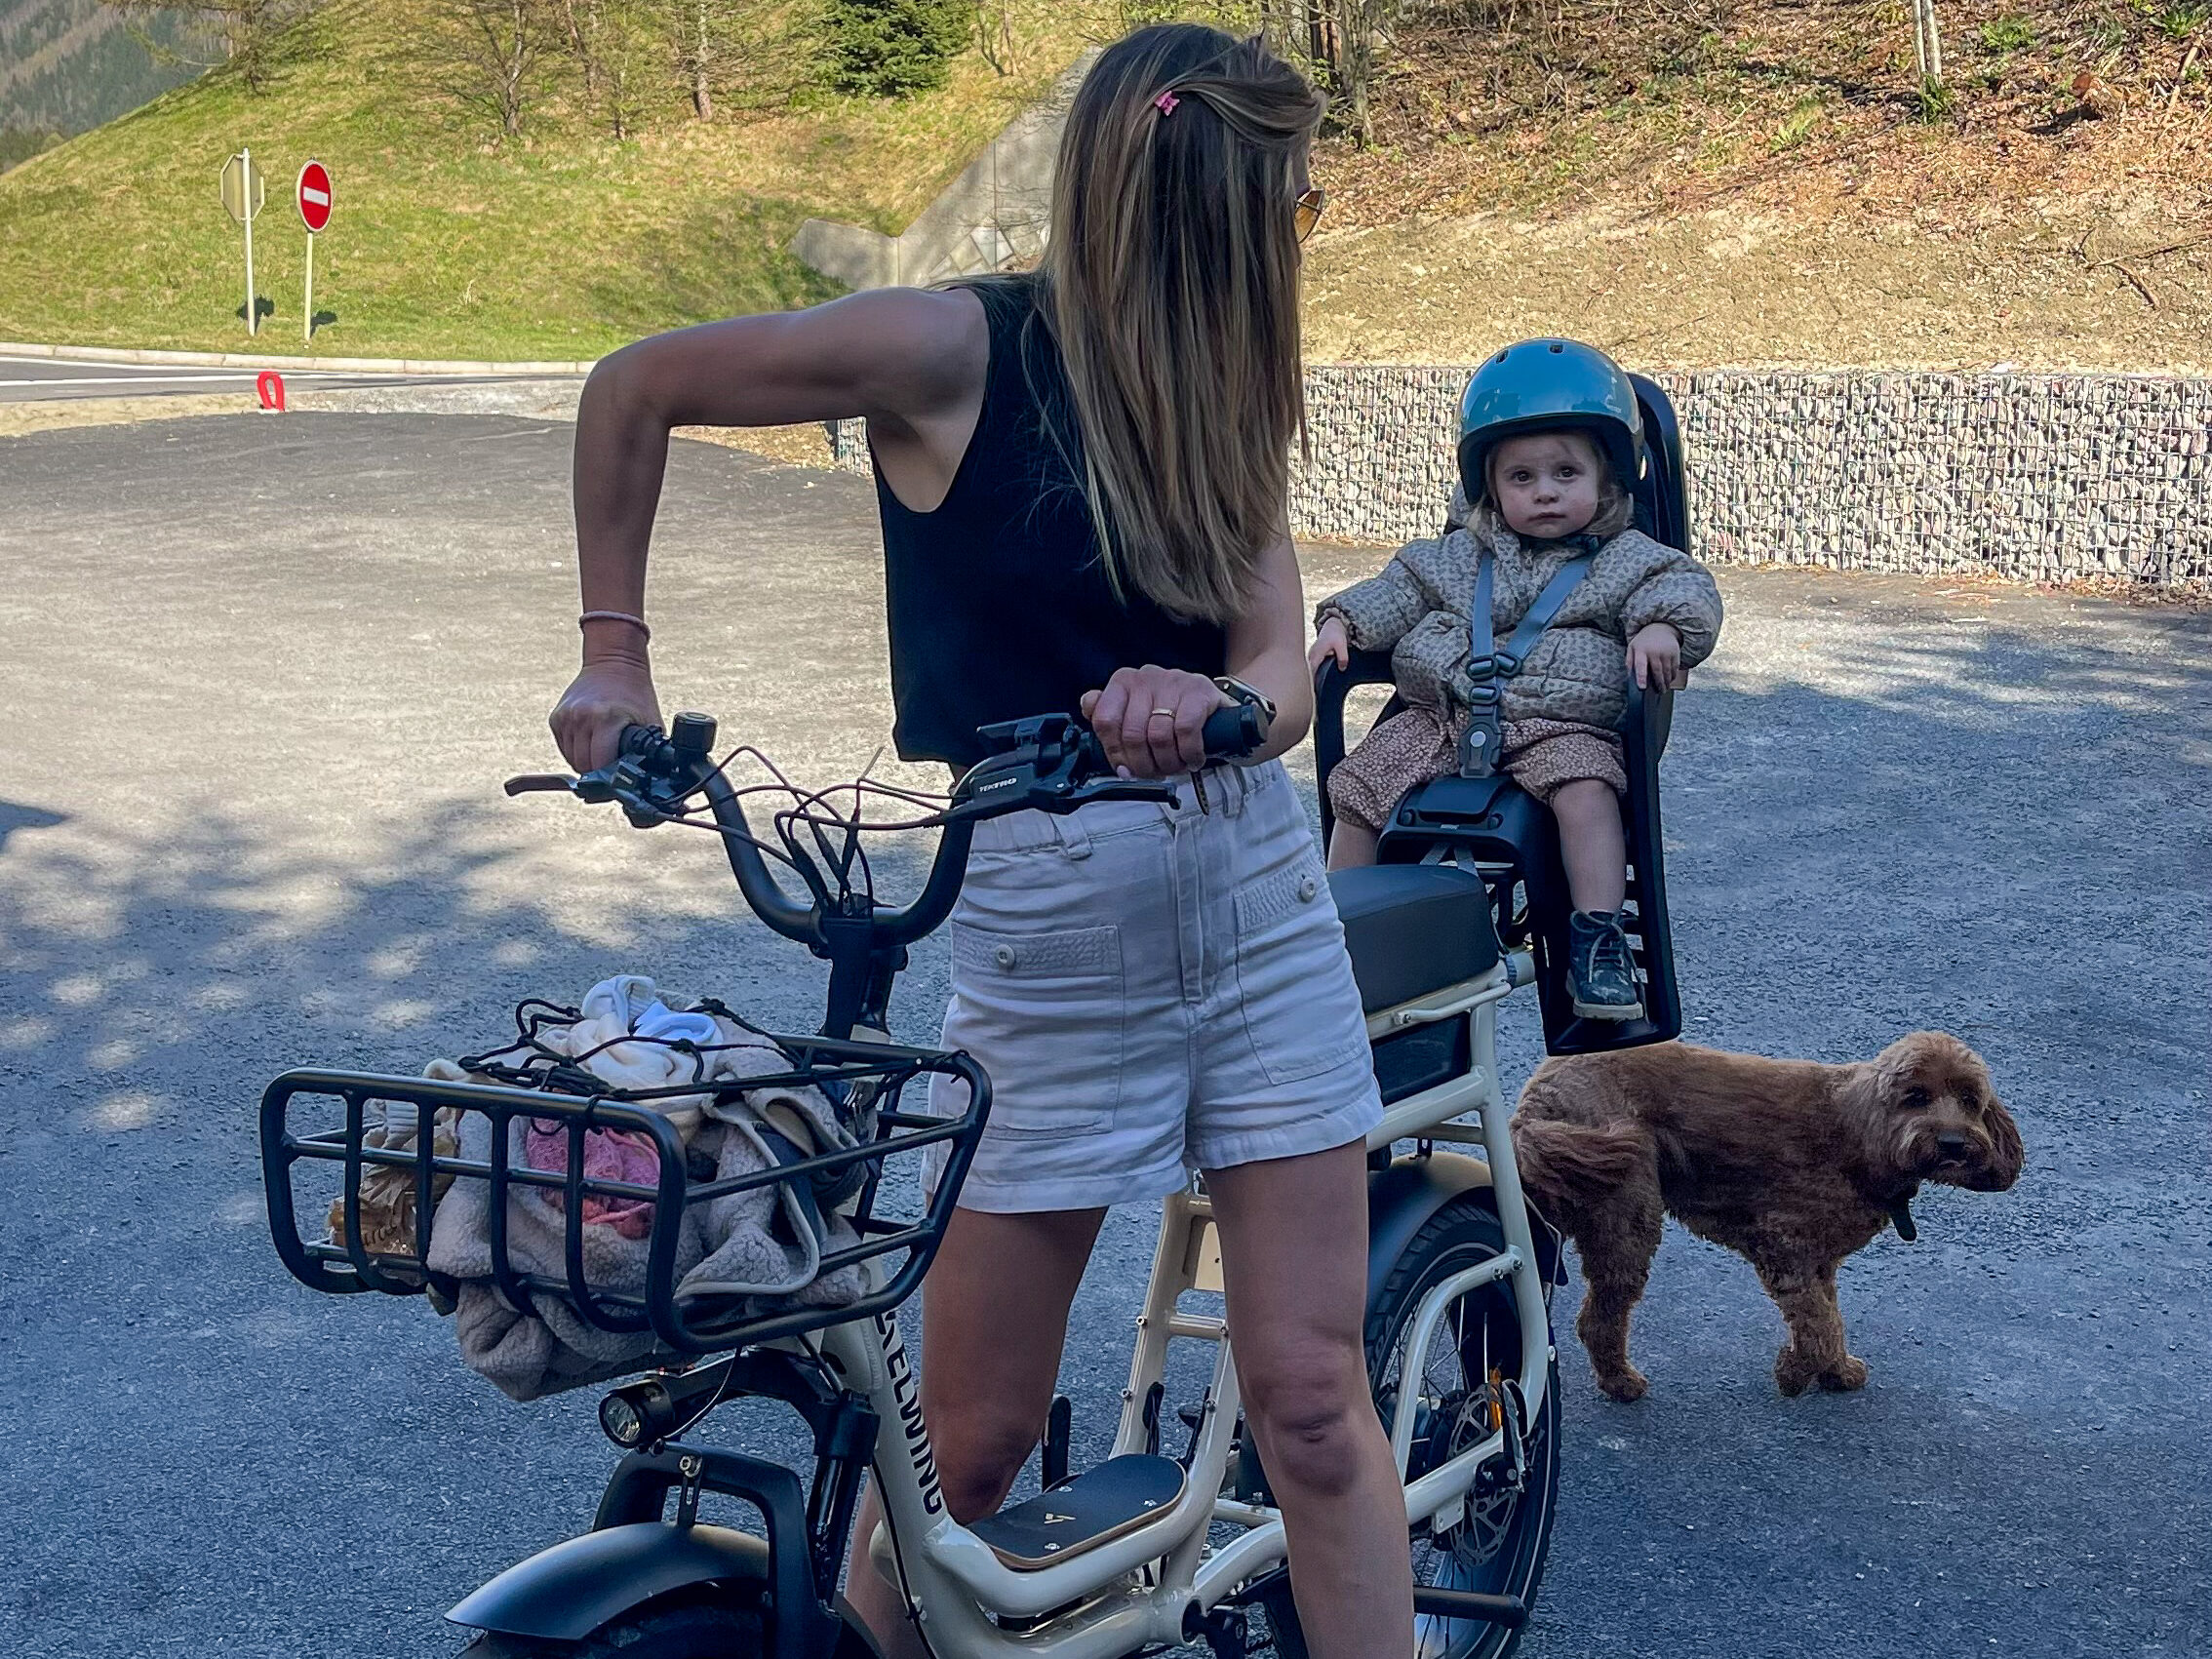
We do have the Via Cham resident card, which gives us access to all the buses and local trains, and for the most part, it works well. But even with that, we decided to invest in an electric bike.
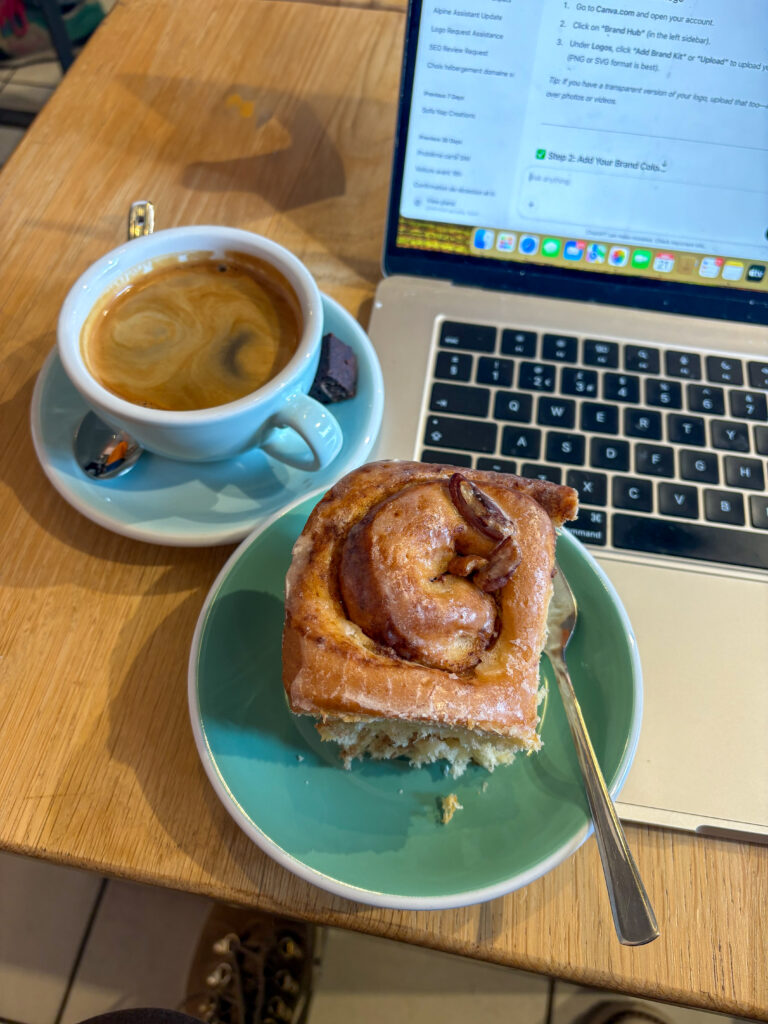
It just makes life easier. Popping into town for a coffee, doing the school run, or heading to the market doesn’t need a timetable. We don’t have to plan our day around bus schedules, and it’s quicker than waiting around, especially when it’s raining, snowing, or just one of those days where everything feels a bit much.
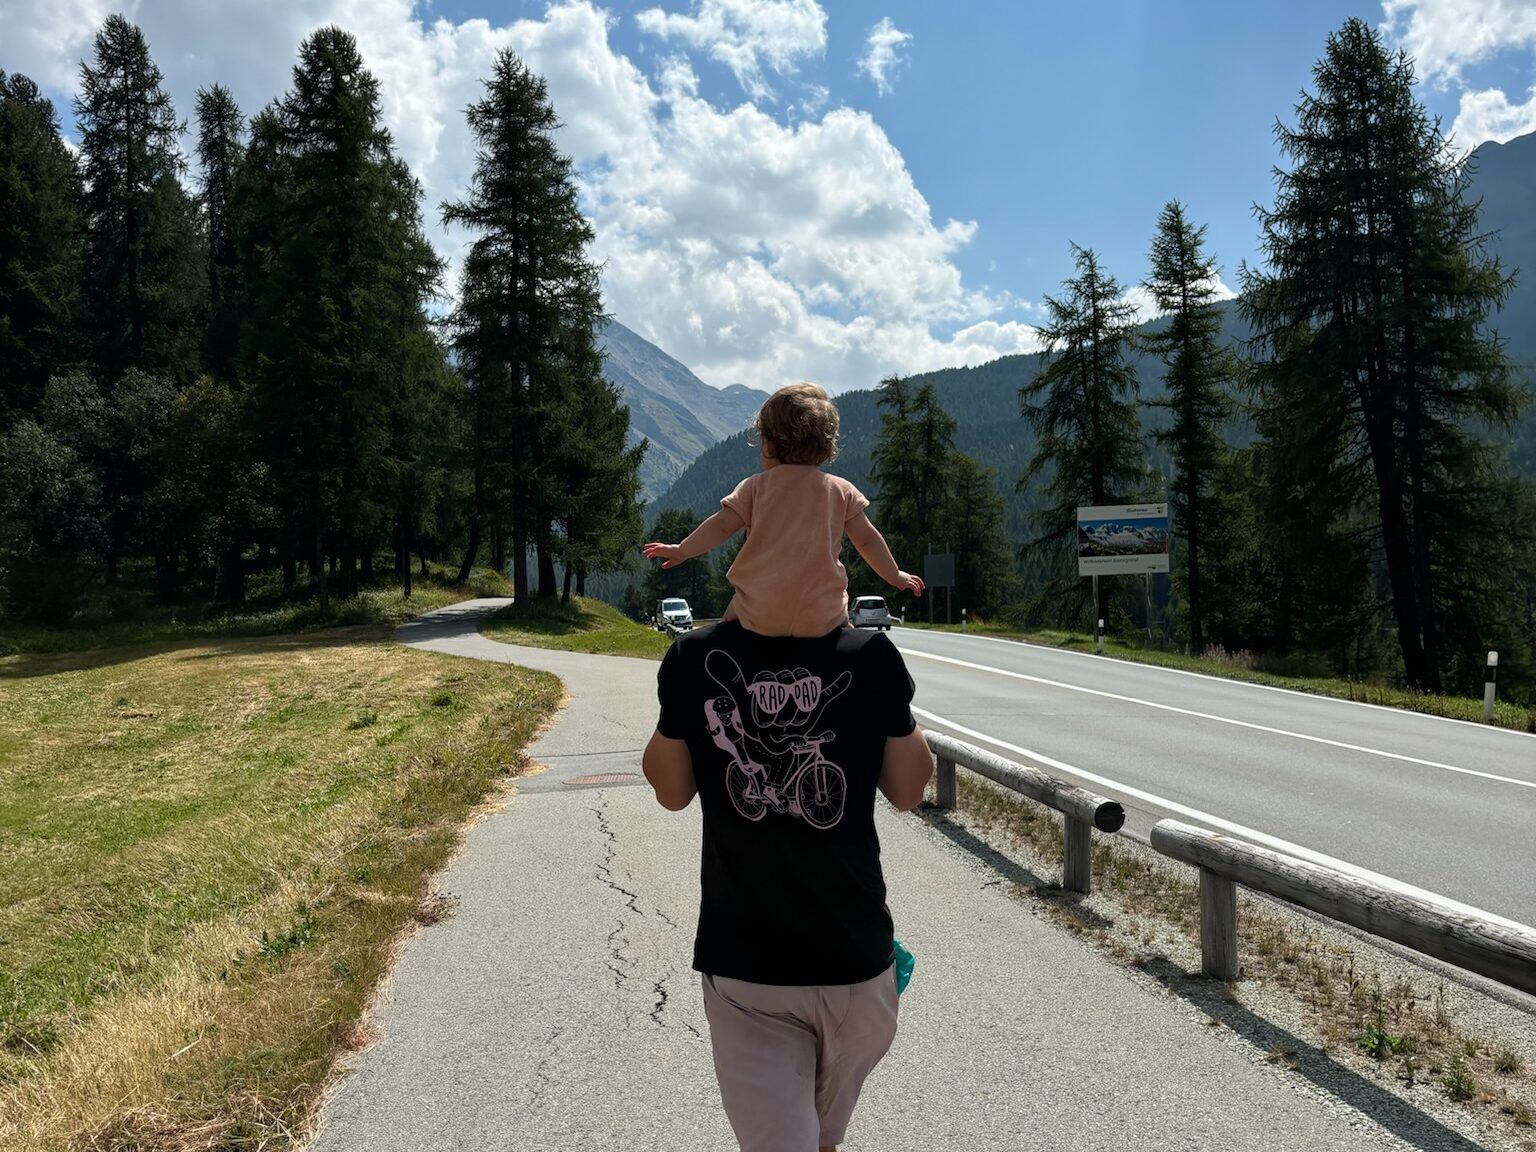
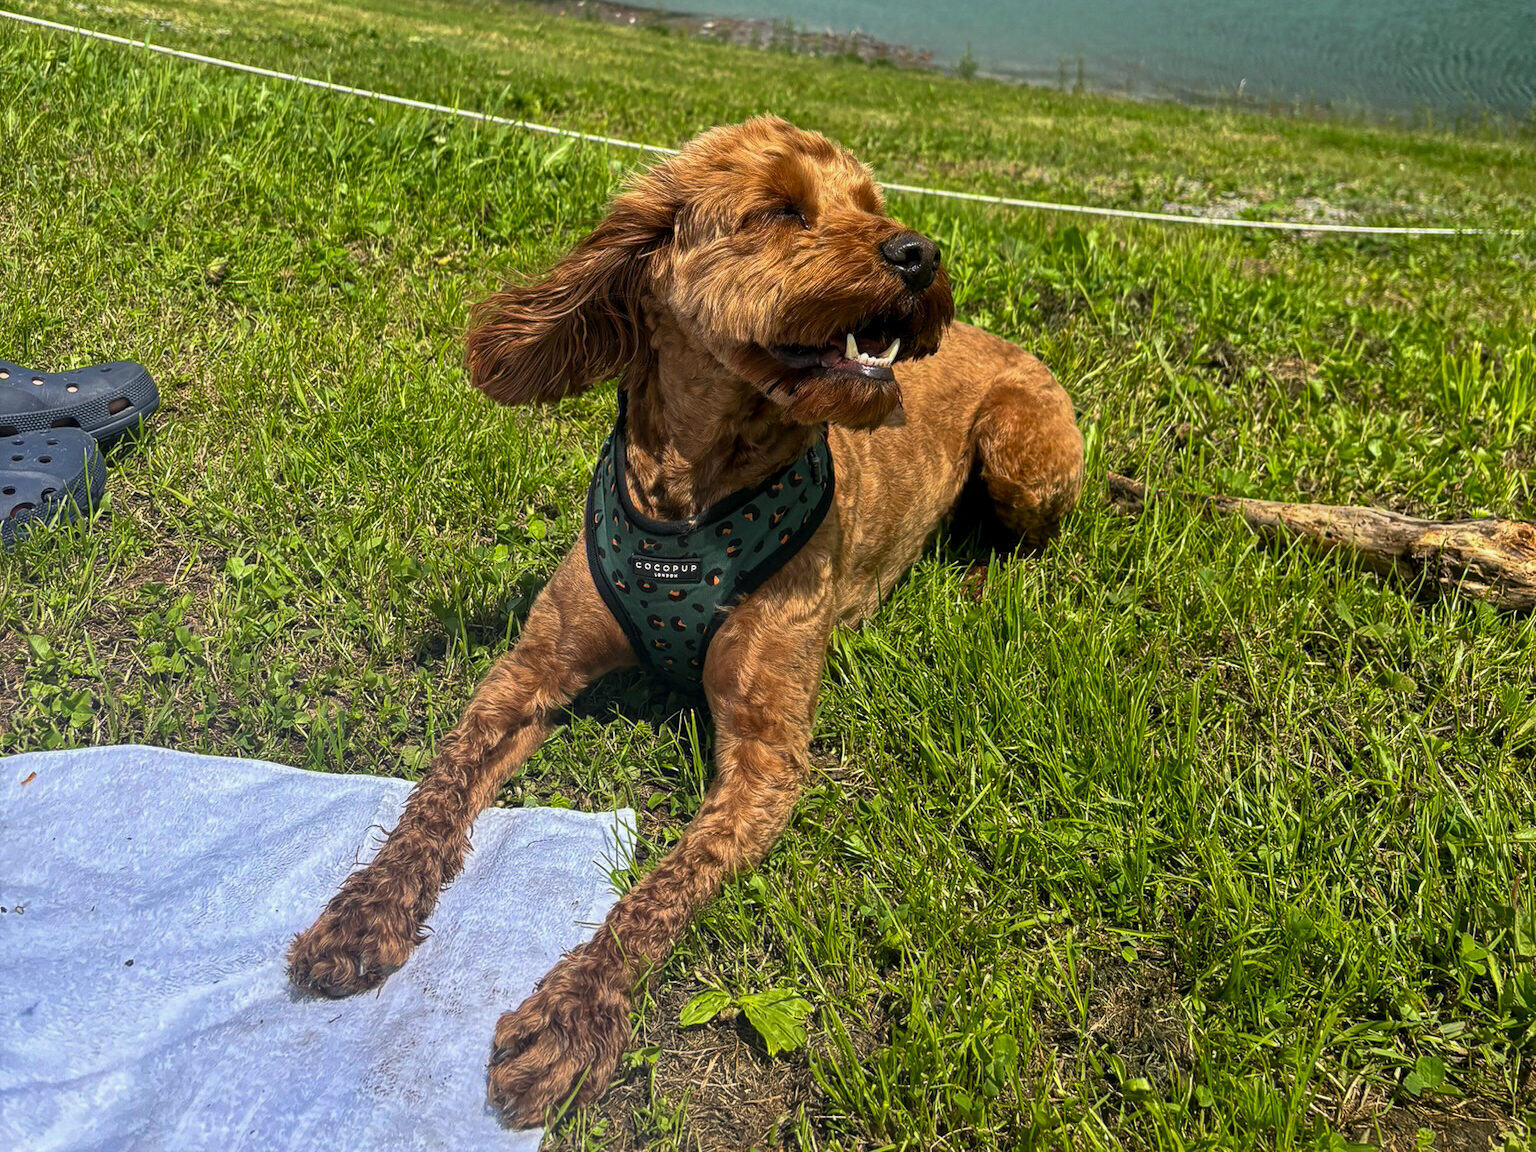
It also means Thatcher can run alongside us, which is great for keeping him active without needing a full-blown outing. And honestly, I think we use it more than we thought we would. It’s become one of those things that makes daily life in the valley feel a little more fluid.
Do You Really Need a Car in Chamonix?
Chamonix is one of those places where you really can get by without a car, but it does take a bit of local knowledge and the odd workaround. Between the buses, the Mont Blanc Express, and the help of a good e-bike, we’ve managed just fine. It’s not always seamless, but there’s something quite freeing about not relying on a car every day. Whether you’re here for a weekend or settling in long-term, a bit of planning and flexibility goes a long way. And when all else fails, there’s always Le Mulet.